So, you've got a fresh asphalt driveway or maybe a private parking pad, and you're thinking about adding some lines. Maybe it's for basketball, maybe it's just to define parking spots for family and friends. It's a common thought for homeowners in Broomfield, especially those with larger properties or even shared driveways in places like Anthem Highlands.
Can You Really DIY Driveway Striping?
Yeah, you can. But let's be real, it's not as simple as just grabbing a can of spray paint and going at it. There's a difference between putting down some lines that'll look okay for a few weeks and laying down professional-grade, durable markings. For most homeowners, if you're just looking for some basic, non-critical lines – like a basketball court outline or a couple of parking spots on your own property – it's definitely doable.
However, if you're talking about anything that needs to be precise, last a long time, or comply with any kind of accessibility standards (even if it's just for your private use, you might want it done right), that's when you really need to think about calling in a professional. I've seen plenty of DIY jobs that end up looking like a squiggly mess after a season or two. It's not just about painting; it's about preparation, the right materials, and the right technique.
Before You Start: Planning and Prep
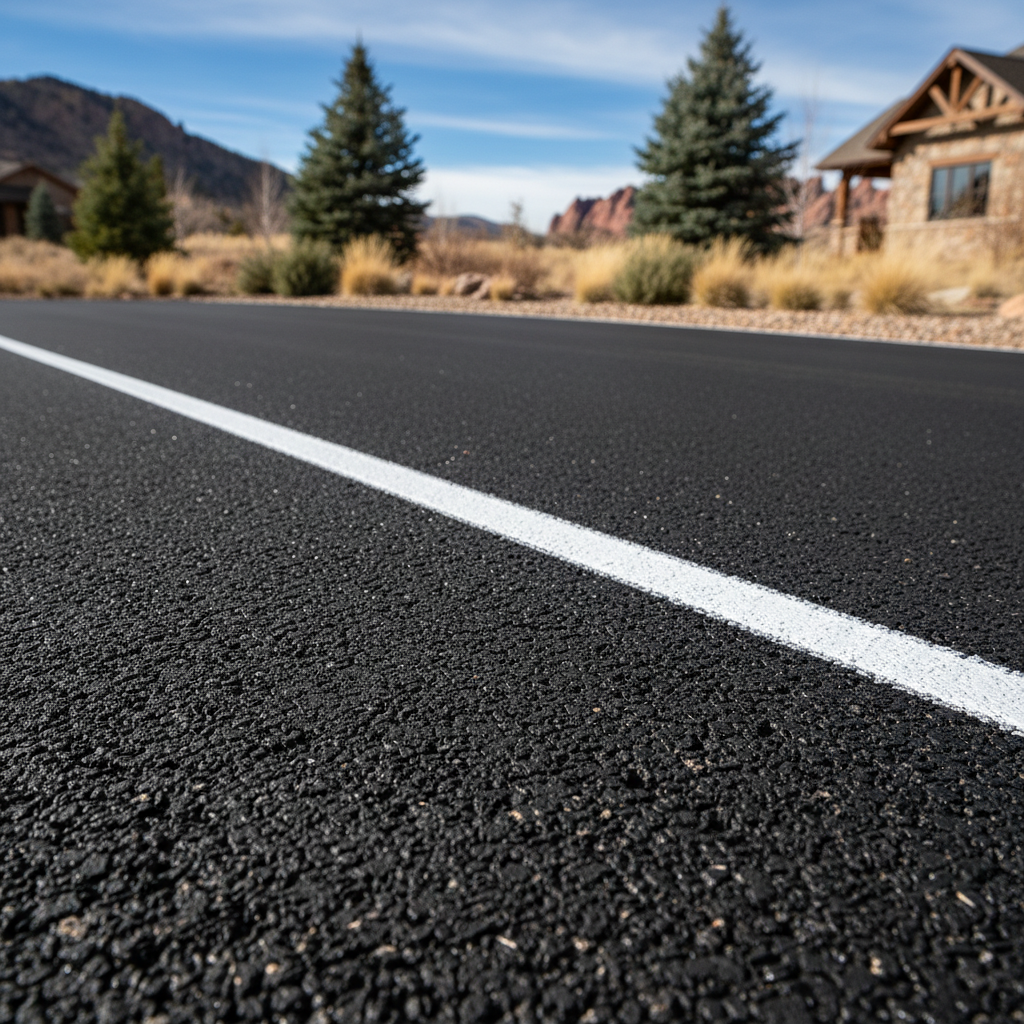
First things first, clean that asphalt. You can't just paint over dirt, leaves, or old, flaking paint. Get a good power washer out there and blast away all the grime. If there are oil stains, you'll need to treat those with a degreaser and scrub 'em out. Any loose debris or sand needs to go. The cleaner the surface, the better your paint will adhere, and the longer it'll last.
Next, measure everything out. This is where a lot of DIYers go wrong. Don't just eyeball it. Use a long tape measure, chalk lines, and maybe even some string to get your lines straight and evenly spaced. If you're doing parking spots, remember standard widths. A typical parking space is usually 9 to 10 feet wide and 18 to 20 feet long. If you're marking a basketball court, look up regulation dimensions – they're out there. Take your time with this step; it's the foundation for a good-looking job.
Consider the weather. This is Colorado, so we get everything. You don't want to stripe on a super hot day when the asphalt is scorching, or when it's about to rain. Ideal conditions are usually a dry day, not too windy, with temperatures between 50 and 80 degrees Fahrenheit. The paint needs time to cure properly.
Choosing Your Materials
Don't just grab any old paint from the hardware store. You need traffic paint, specifically designed for asphalt and concrete. It's more durable and formulated to withstand vehicle traffic and our crazy Broomfield weather, from hot summers to icy winters. You can find it in spray cans or larger buckets if you're using an actual striping machine. For a small DIY job, spray cans with a marking wand can work, but for anything more than a few lines, a dedicated striping machine (you can rent them) will give you much cleaner, more consistent results.
You'll also need good quality stencils if you're doing arrows, numbers, or handicap symbols. Don't try to freehand those; it rarely works out well.
During the Project: Laying Down the Lines
Once you've cleaned and measured, it's time to paint. If you're using spray cans with a marking wand, practice on a piece of cardboard first to get a feel for the spray pattern and how fast you need to move to get a consistent line. The key is steady, even pressure and a consistent speed. Overlap your passes slightly to ensure full coverage.
If you've rented a striping machine, read the instructions carefully. These machines are designed to make straight lines easy, but you still need to guide them properly. Keep your eyes on your chalk line or string guide. Don't rush. It's better to do two thinner coats than one thick, gloppy one that takes forever to dry and might smudge.
For stencils, secure them firmly to the ground with tape or weights to prevent overspray. Use a roller or brush for stenciled areas, or a very controlled spray. Again, thin coats are better.
After the Striping: Curing and Maintenance
Once you're done, let the paint cure. This is critical. Check the manufacturer's recommendations on the paint can, but generally, you'll want to keep traffic off the freshly painted lines for at least 24 hours, sometimes longer depending on humidity and temperature. Driving over wet paint is a surefire way to ruin your hard work and track paint all over the place.
Keep an eye on your lines over time. Our climate here in Broomfield with its freeze-thaw cycles and strong sun can be tough on asphalt and paint. If you see chipping or fading, you might need to touch them up. Regular cleaning of your driveway can also help prolong the life of your striping.
When to Call Thornton Paving Co.
Look, for a simple basketball key or a couple of parking lines in your personal space, go for it. But if you're looking for crisp, long-lasting, professional-grade lines, or if you're striping a larger area, a shared driveway, or anything that needs to look really sharp and withstand heavy use, that's when you should call us. We've got the specialized equipment, the commercial-grade paints, and the experience to get it done right the first time. We can handle everything from parking lots to custom markings, ensuring they meet all necessary standards and look great for years to come. It'll save you a headache, and probably some money in the long run, too.